Top bar & account
The top bar runs across every screen in the management panel. From left to right it carries the search field (also a quick-navigation palette — see the Dashboard page), the language switcher, the tenant logo + name with a chevron (for clubs that operate multiple tenants), and the avatar dropdown — your per-user menu containing Settings (Account / Security), Create new member (a quick add), and Sign out. None of this is tenant-level configuration; it's the per-user / per-session affordances you'll touch occasionally.
Screenshots on this page show one merchant's setup (Spanish labels). Your Hub displays the labels and content you configure for your own program.
This page documents the small set of controls that live in the top bar of every page. Most readers won't need to spend time here — Account settings get touched once at onboarding, the language switcher once per user preference, Create new member occasionally for a one-off registration. But it's the only place these surfaces are documented, so they live here.
Language switcher
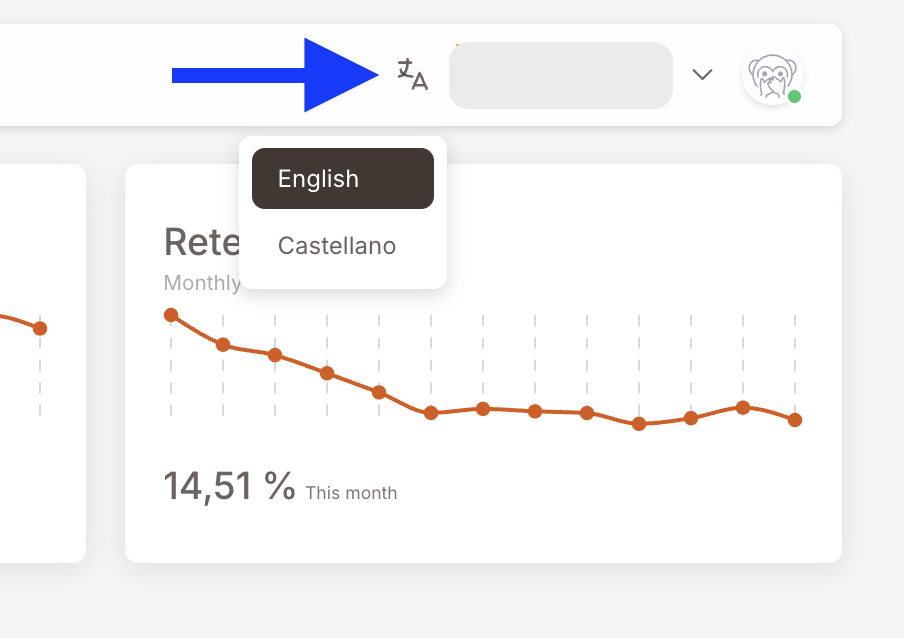
The translation icon (next to the tenant logo) opens a small dropdown listing the languages the management panel can render in. The list shown depends on what's been enabled for your tenant — partners have rolled out English, Spanish, Turkish, German and others, and adding a new language is a small lift if your tenant needs one.
The choice is per-user, persistent — pick once and the management panel renders in that language for you on every subsequent visit. It does not affect what members see; member-facing language is set on each member's Preferred language field in their profile and used by per-language Smart Campaigns and Comm. Templates.
Tenant switcher
The tenant logo + name + chevron in the middle of the top bar is the tenant switcher. For users who have access to multiple tenants (typical for distributors, multi-brand operators, or agency users), clicking the chevron opens a list of available tenants. Pick one and the whole management panel reloads against that tenant's data.
For single-tenant users — most clubs — the chevron is just decorative; there's only one option and you stay where you are.
Avatar dropdown
Click the avatar circle on the far right of the top bar. The dropdown that opens has four items, top to bottom:
![]()
- Your user info at the top — name, email, an online status indicator. Read-only here; click Settings below to edit.
- Settings — opens the Account settings page (the surface for editing your own profile and password). See below.
- Create new member — opens a modal to register a single member directly. Same data as the Registration form collects, but bypasses the public form. See below.
- Sign out — ends your session and returns you to the login screen. Useful on shared computers; otherwise rarely needed.
Account settings — Account tab
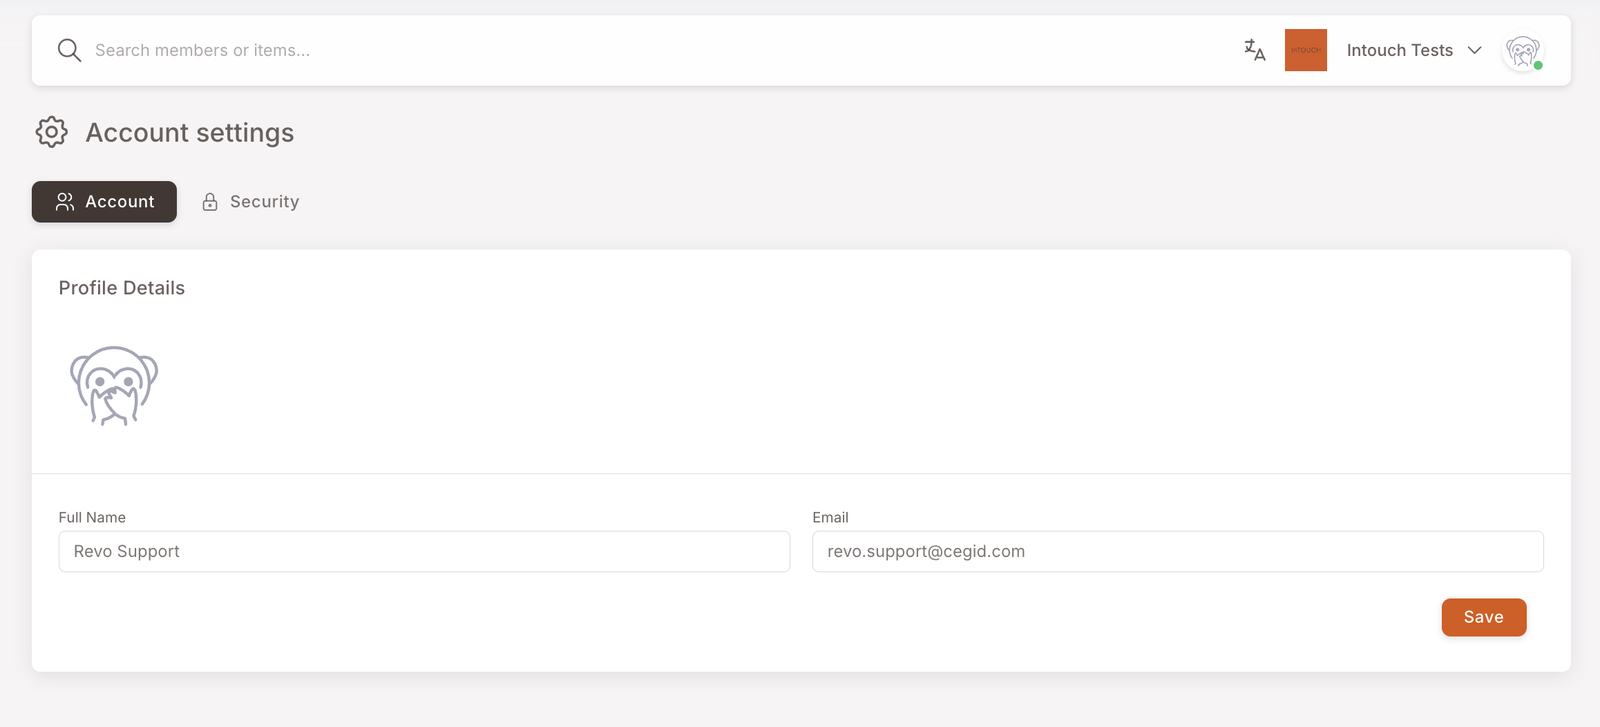
Settings in the avatar dropdown opens Account settings. The page has two tabs.
The Account tab is your own profile — distinct from a member profile. Two editable fields and your avatar:
- Full Name — what shows in the avatar dropdown's user-info row and (presumably) anywhere else the management panel attributes actions to a user.
- Email — the address you log in with. Changing it changes your login identifier, so do it carefully.
Click Save to persist either change.
Account settings — Security tab
The Security tab covers password management.
- Current Password — type your existing password.
- New Password / Confirm New Password — twice, must match.
- Password Requirements are listed alongside: minimum 8 characters, at least one lowercase + one uppercase, at least one number / symbol / whitespace.
Click Save to commit. The change takes effect on next sign-in.
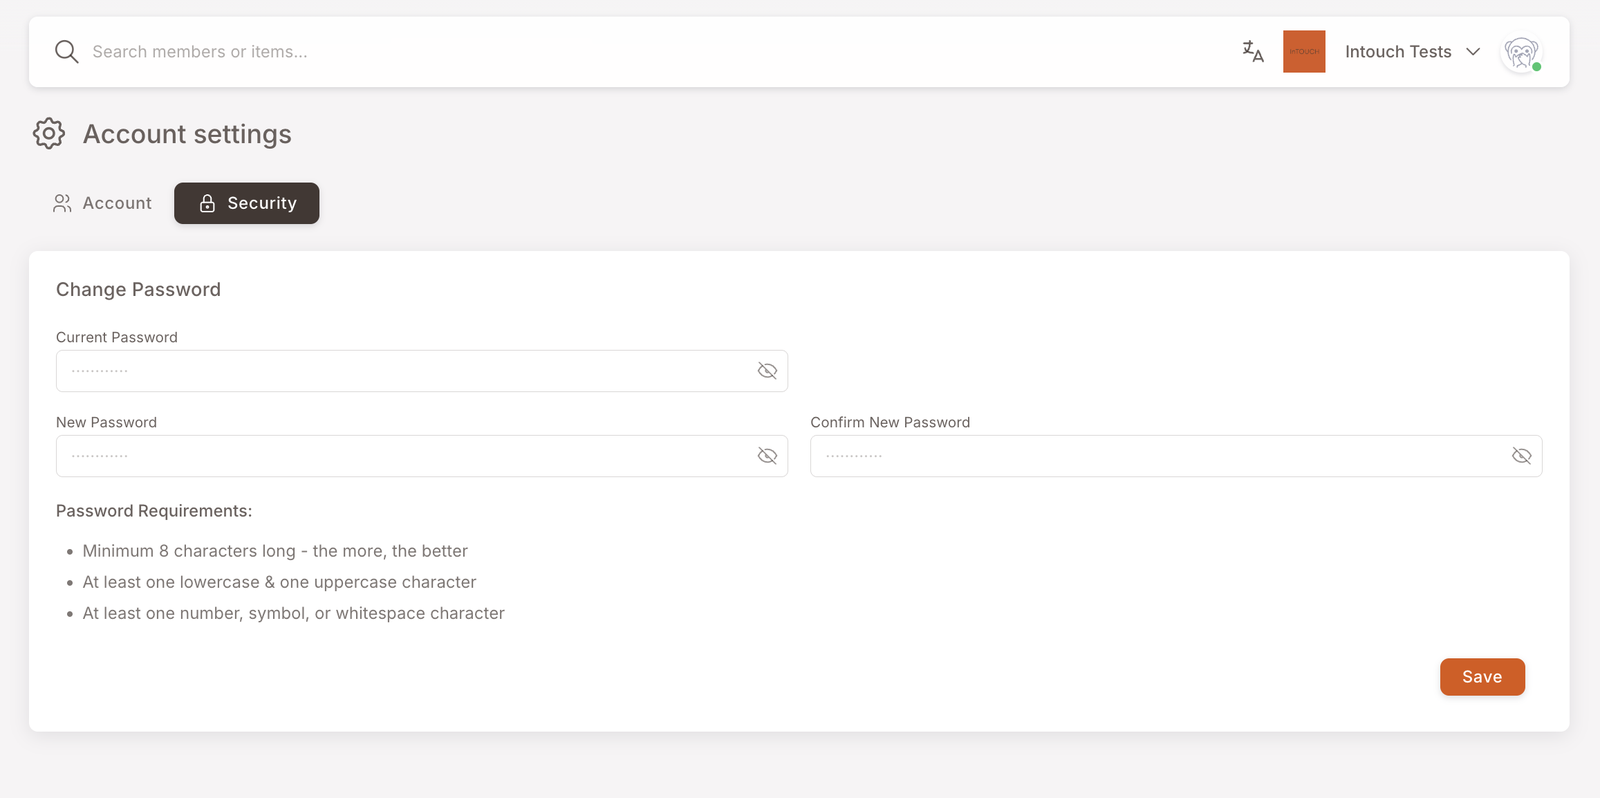
There's no two-factor / MFA option here today.
Create new member
The Create new member entry on the avatar dropdown opens a modal that takes the same data the public Registration form would collect, but lets you register a single member without sending them to the form. Use it for in-person enrolment when a member is on the phone or at the counter and you have their details to hand.
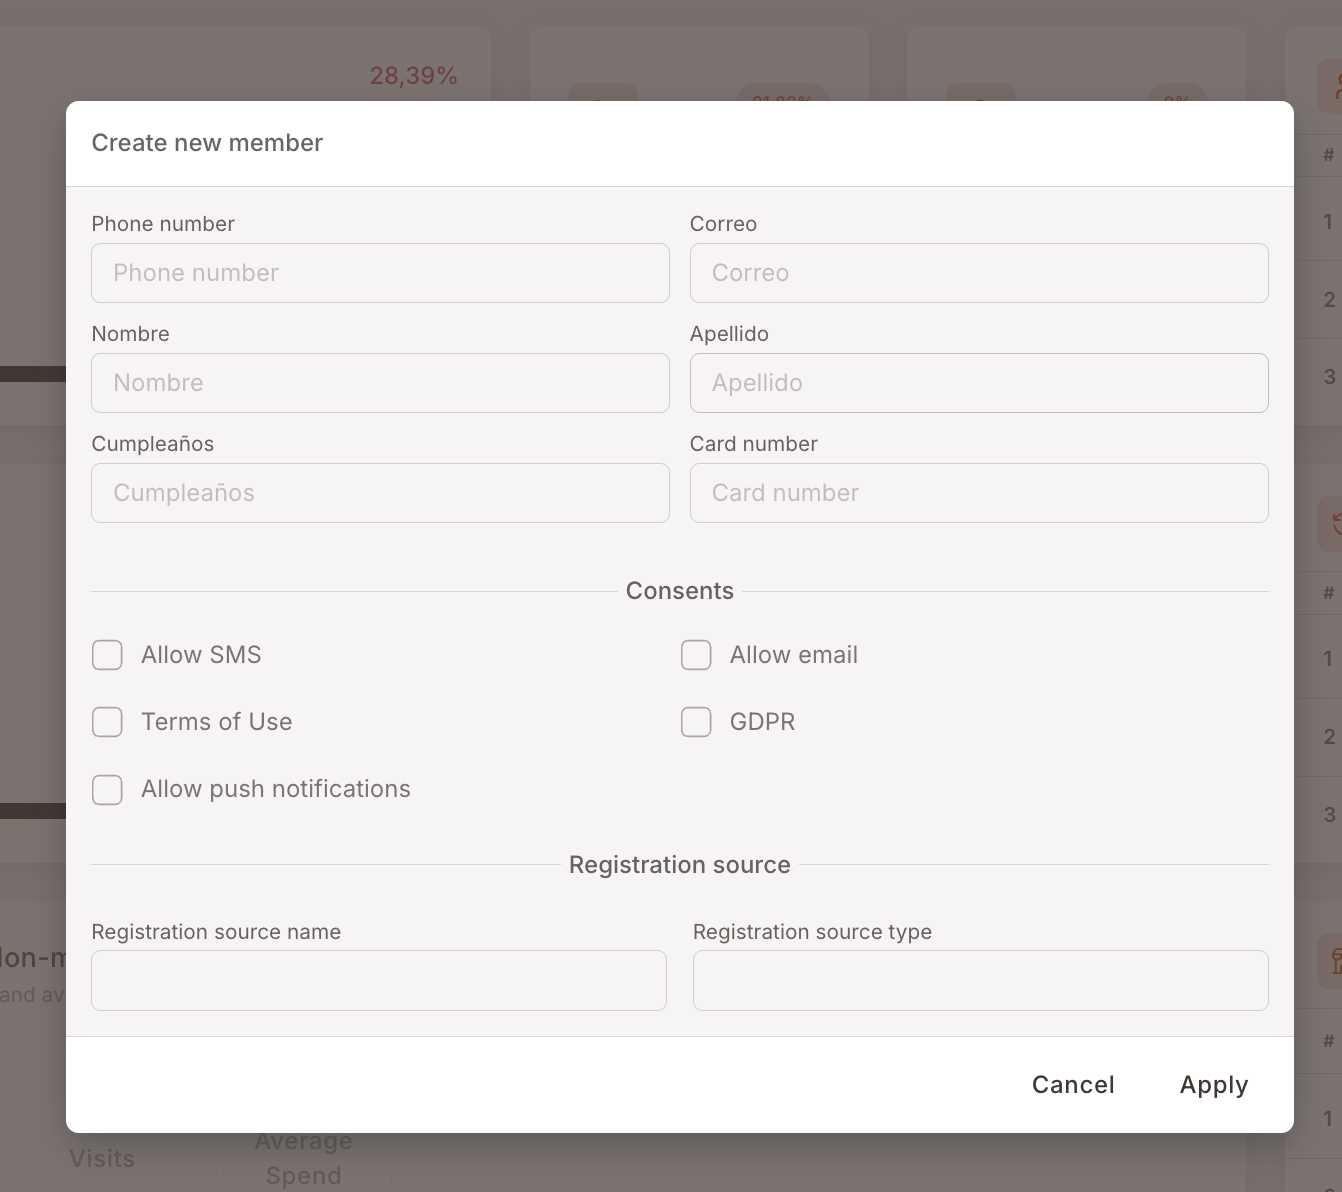
The fields mirror the registration form's defaults — phone number, email (Correo), first name, last name, birthday, card number, the four consent checkboxes (SMS, Email, Terms of Use, GDPR, Push), and a registration source / type for attribution. Tick consents only if the member has actually given them — the same compliance gate that applies on the public form applies here.
Click Apply and the new member is added to the program. They show up immediately in Filter members and can be issued Manual actions right away.
For bulk member onboarding (a list of dozens or hundreds of members from a previous loyalty system), use Import Members instead — the modal here is one-at-a-time only.
Sign out
Closes your session. Returns you to the login screen. Mostly relevant on shared / public computers — for personal devices, just leaving the tab open is normal practice.