Import Members
1. Settings → Import Members → Download template — the pre-formatted CSV with required column headers.
2. Fill in the CSV in your spreadsheet tool. Use comma as the delimiter; don't rename, delete, or rearrange the column headers.
3. Back in Import Members, drop the filled file on the upload area.
4. Pick the Unique field — Email or Phone number — to identify each member.
5. Toggle Validate records on, tick the consent acknowledgement, and click Import.
6. Open Results to see what landed and what errored. Fix any rows and re-import.
This is the page you reach for when you have a list of existing customers (from a previous loyalty system, a spreadsheet your POS spat out, a CRM export) and you want them all in the platform at once. Single-member adds happen through the Registration form or the POS-driven flow — Import Members is the bulk path.
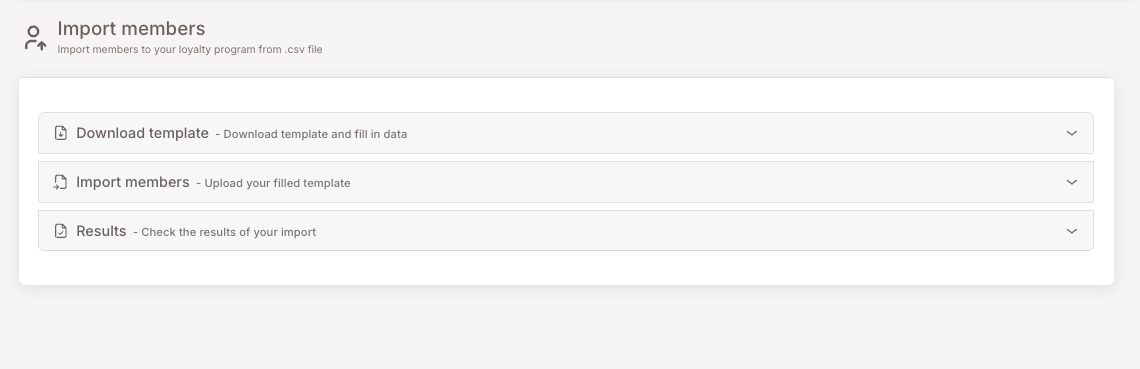
Page anatomy
The page has three collapsible cards stacked vertically: Download template, Import members, Results. You step through them in order.
Step 1 — Download the template
Expand the Download template card and click the Download template button. The download is a CSV with all the required column headers already in place.
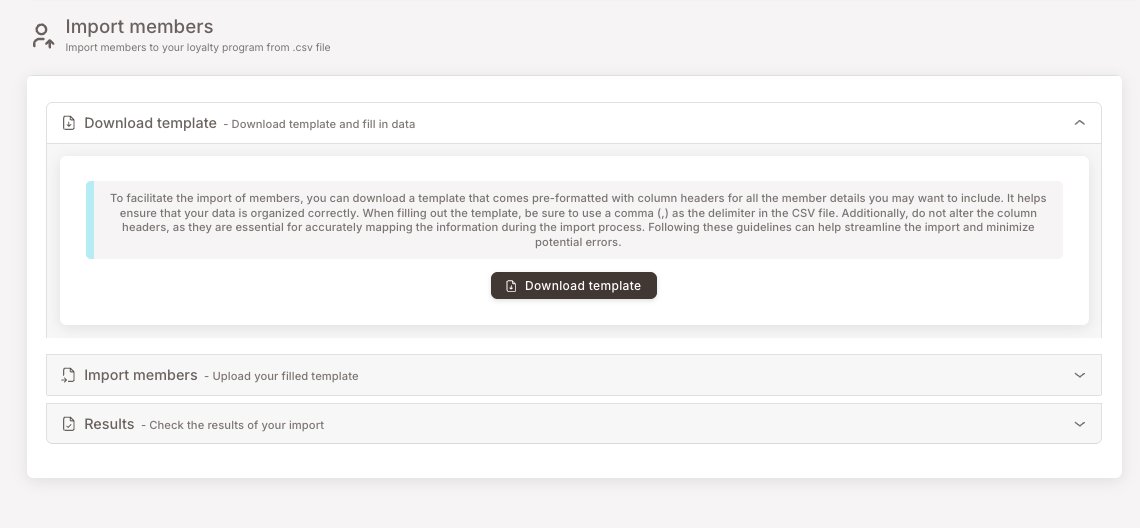
Two things to read off the in-app note:
- Use a comma (
,) as the delimiter. Not semicolons, not tabs. - Do not rename, delete, or rearrange the column headers. They're how the importer maps your data into the platform.
Open the downloaded CSV in your spreadsheet tool of choice and fill in the rows.
Step 2 — Fill the file (the rules that matter)
The columns are mostly self-explanatory (first name, last name, email, phone, etc.) but a handful have format rules that, if missed, cause silent or partial failures. Read these once before filling:
Field format rules — read before filling the CSV
Date of birth. Use YYYY-MM-DD. Example: 1976-04-28.
Phone Number. Include the country code, no + sign. Example for Spain: 34634555666 (the 34 is the Spain country code).
Tags. Several rules:
- Separate multiple tags with semicolons:
Gold;VIP;SummerPromo. - Use only standard English letters and numbers (A–Z, a-z, 0-9). Avoid accented characters (
ñ,á,é,í,ó,ç, etc.) and special characters (%,&,$, etc.). - Use underscores instead of spaces:
Gold_Member, notGold Member.
creditBalance is in cents (whatever the smallest currency unit is for your tenant). A balance of 7.89 EUR must be sent as 789.
termsOfUse and gdpr — both columns must be present and set to TRUE for every row. (You're declaring on the importer that the member has accepted both. The acknowledgement checkbox at the bottom of the upload step is your formal acknowledgement of that for the whole import.)
allowSMS and allowEmail — set to TRUE only if the business has communication consent from the member for that channel. If you don't have proof of consent, leave as FALSE. Setting these to TRUE without consent is a compliance violation.
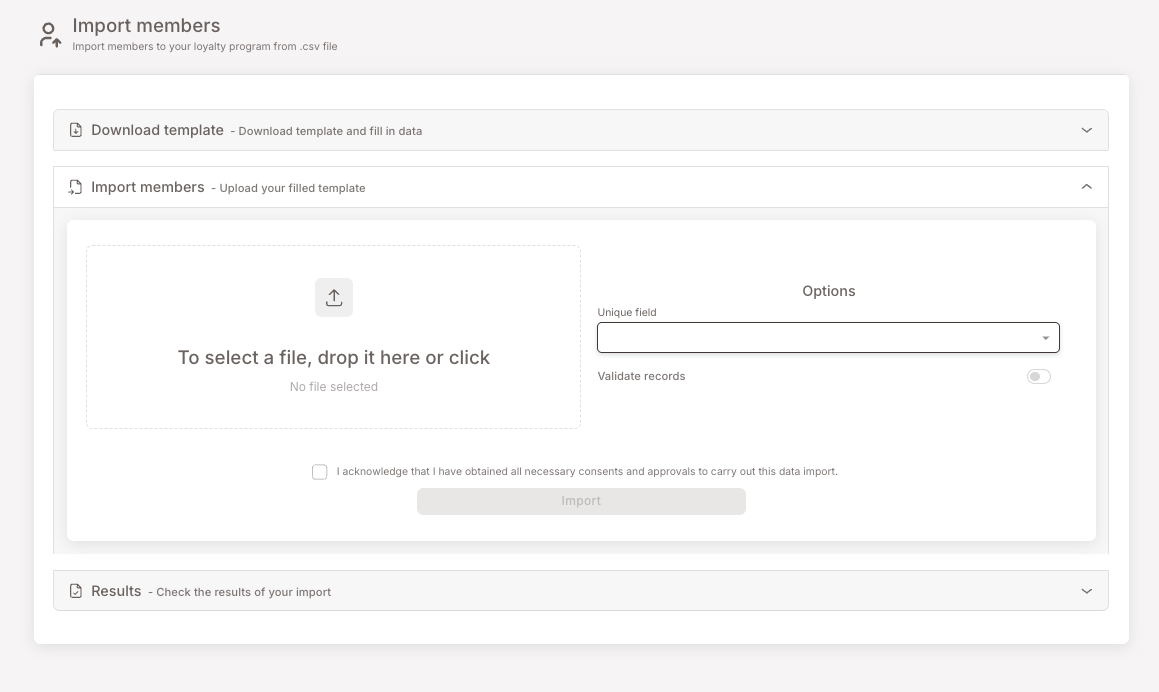
Step 3 — Upload the filled file
Expand the Import members card. Drop the filled CSV onto the upload area or click the area to open a file picker.
Pick the Unique field
Open the Unique field dropdown and pick Email or Phone number — whichever your club uses as the unique identifier (matches the Login Identifier under General settings).
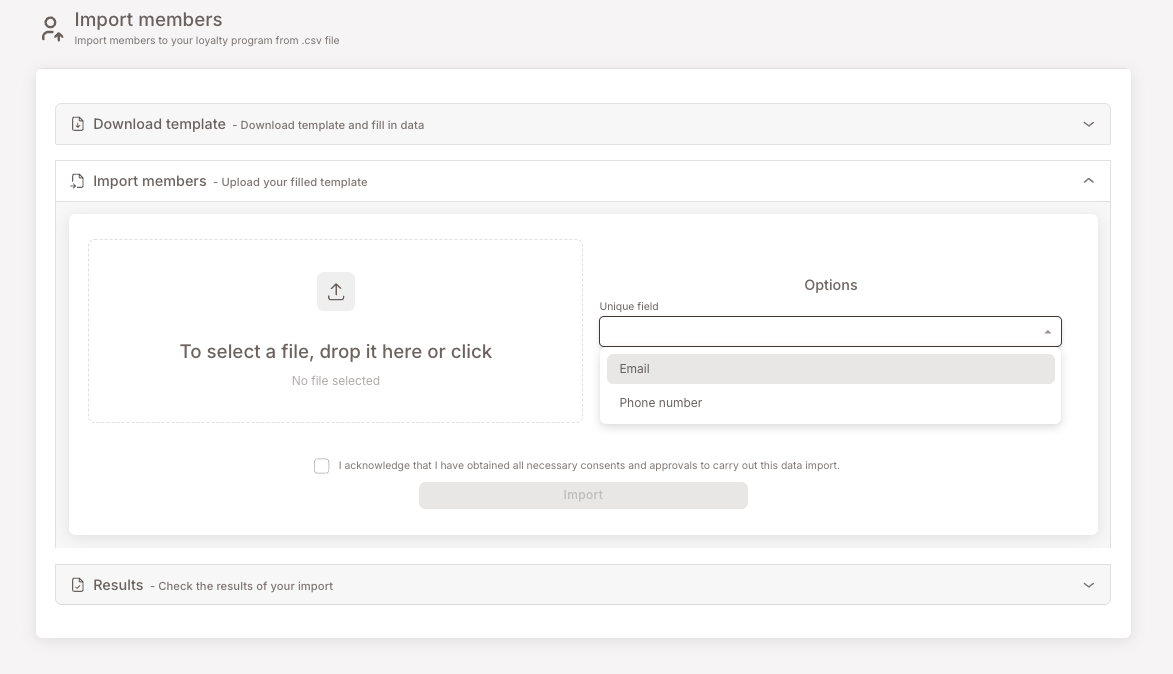
The Unique field is what the importer uses to detect duplicates: if a row's email (or phone, depending on the choice) matches an already-existing member, that row updates the existing record rather than creating a new one.
Validate records
Leave the Validate records toggle on (it's on by default). The validator checks every row for the format rules above before any data is written — a row with a mis-formatted date or a missing required field gets flagged for you to fix.
Always click Validate before finalizing the import. Validation is fast; running an unvalidated import on a malformed file means cleaning up after the fact.
Acknowledge and import
Tick the consent checkbox:
"I acknowledge that I have obtained all necessary consents and approvals to carry out this data import."
Click Import. The importer processes the file. For large imports, this can take a moment.
Step 4 — Review results
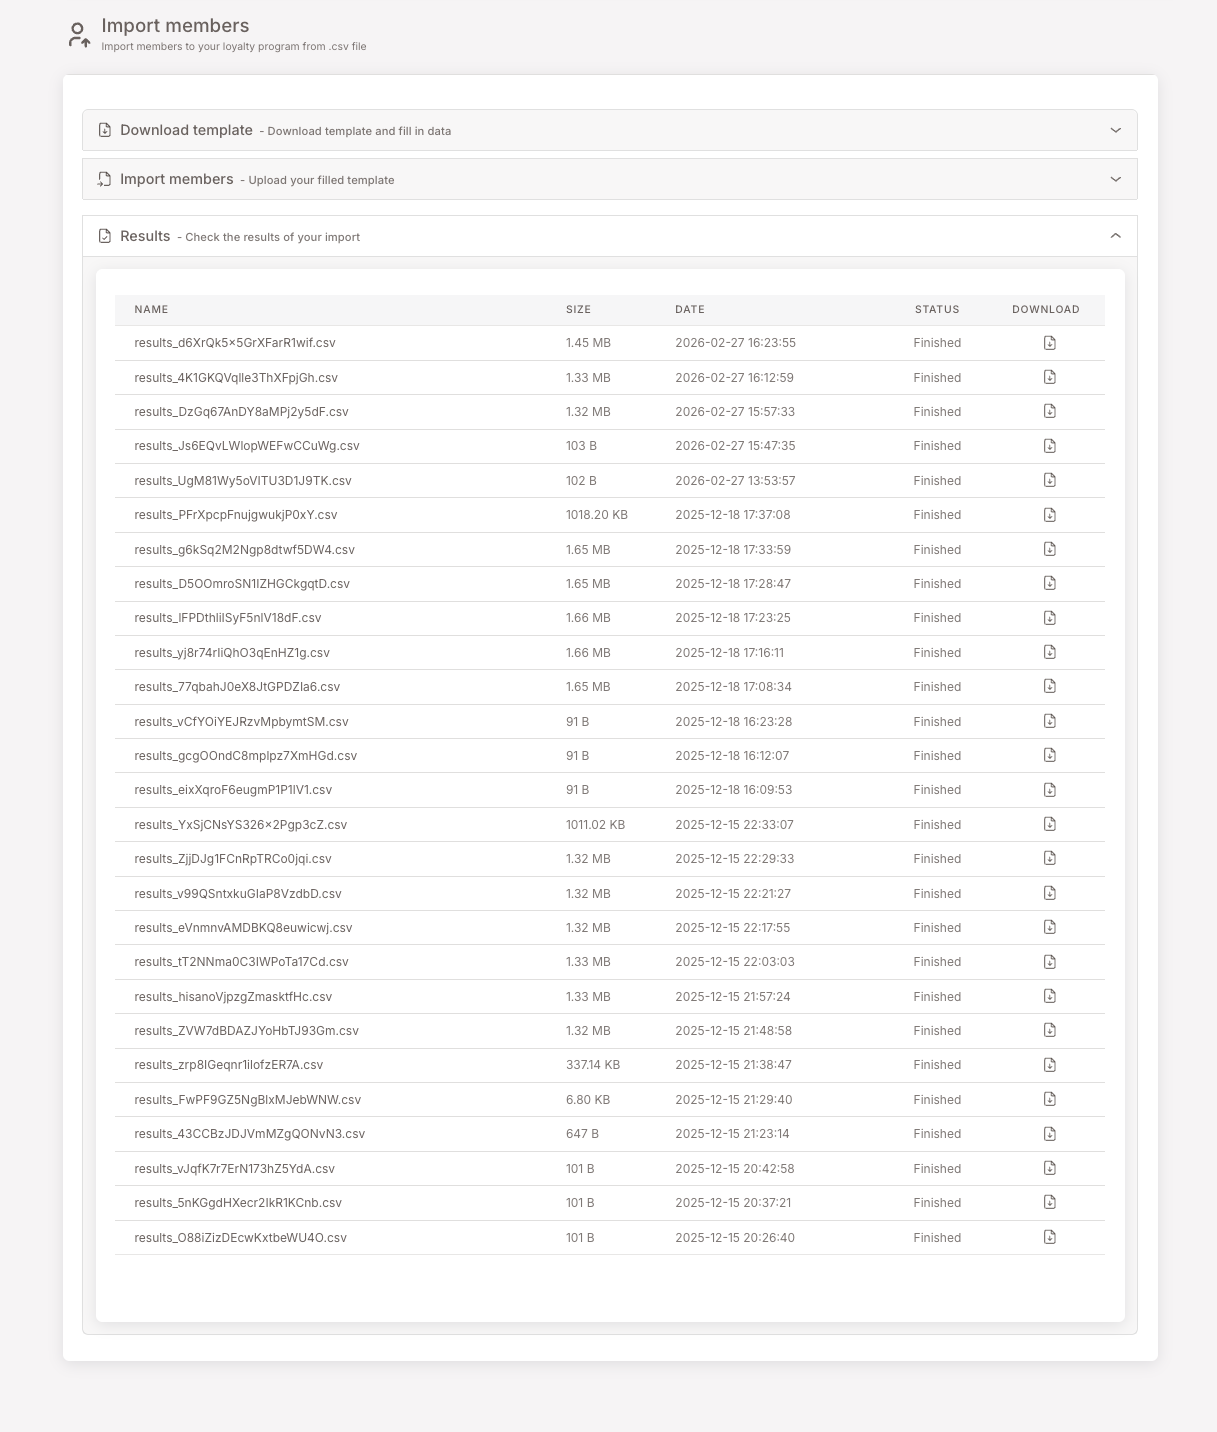
Expand the Results card. You'll see a table listing every import you've run, each row showing:
- Name — file name of the imported CSV.
- Size — file size.
- Date — when the import ran.
- Status — Finished (or an error state if something went wrong).
- Download — re-download the file.
If a row reports an error or partial-success status, click into it to see which CSV rows failed validation and why. Fix those rows in your spreadsheet, save, and re-import. Re-importing the same file is safe — duplicates are caught by the Unique field check; existing records get updated rather than duplicated.
Gotchas
5 things that commonly trip people up
- Phone numbers without the country code silently fail to validate. A row with
634555666(no34prefix) for a Spanish member will be rejected. Add the country code in your spreadsheet before uploading. creditBalanceunits catch people out. It's cents, not euros. A column showing7.89will land as 7.89 cents (essentially zero). Multiply by 100 (or move the decimal point two places right) before saving.- Tags with accented characters silently fail to apply. The row imports, but the tag doesn't stick. If you've set tags like
PróximoorAño_Nuevo, they won't appear on the member. Strip accents. termsOfUse/gdprleft as FALSE blocks login. Members imported with these flags off can't log into the loyalty web app even though they exist in the database. Set both to TRUE for every row, and only do that if you actually have the consent — that's what the acknowledgement checkbox is asserting.- The Unique field choice must match your club's actual identifier. If your club is configured to use Phone Number as the Login Identifier, import with Unique field = Phone number. Mismatching causes duplicate-detection to misbehave (it'll create new rows instead of updating existing ones).